Hello, Butterflies
Today I would like to share with you how I make my inserts for my Traveler's Notebook.
I use the Bullet Journal method in my TN., so all the Inserts I print right now are dot grid. I use Publisher 2016 to design Inserts. I don't always use dot grid paper but at this time that is what I am using.
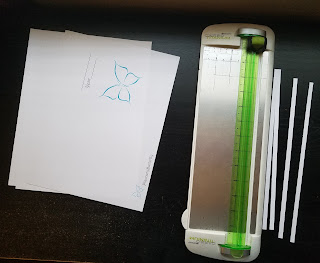
When I design the inserts I also have put in a line to cut off the bottom of the inserts it's .5" from the bottom so when I place the insert in my TN I will have room above for tabs or bookmarks. After I have designed the inserts I would print them out.
After I cut them all up I will stack them up putting the top sheet on the bottom. This way when I am folding the paper in half and I see the image on the front cover sheet I know there are no more sheets for that insert. When I am printing inserts I print multiple copies.
As I am folding I will use a card to run down the fold to make it crips fold. If I had a bone folder I would use it instead of the card, but they work the same. I will set and fold as I am watching TV., which makes the time go by pretty fast.
Now it's time to start stacking the sheet inside each other. After they all stack inside each other and I place the cover sheet over the top and then again run the card down the fold.
At this point, I need to decide if you want to sew it together, staple together or not bind them at all. Sometime I will staple them together, I will use the open stapler and thick eraser method. Most of the time for my personal use I will not bind them together. As the elastic will hold them together in my TN.
When you stack the papers together you will see that the sheets in the inside will stick out kinda making a V shape. So to make all the page even I will place my ruler at the edge of the cover page. Use my exacto knife and run it down the page that is sticking out. I will have to run my knife down a couple times to get all the pages cut.
I add a cardstock cover to the insert and place it in my Traveler's Notebook. After I fill the Insert, I will then staple them together so can store it away and not worry about losing any pages.
If you have any questions please feel free to leave them in the commits, I will answer them as soon as I can.
As Always Have A Good Day Butterflies, See You Soon.


